How to Use AI Image Generators for Beginners: A Simple Step-by-Step Guide
If you’ve never made an AI image before, the blank prompt box can feel oddly intimidating. What do you type? How detailed should it be? Why does the result look nothing like what you pictured?
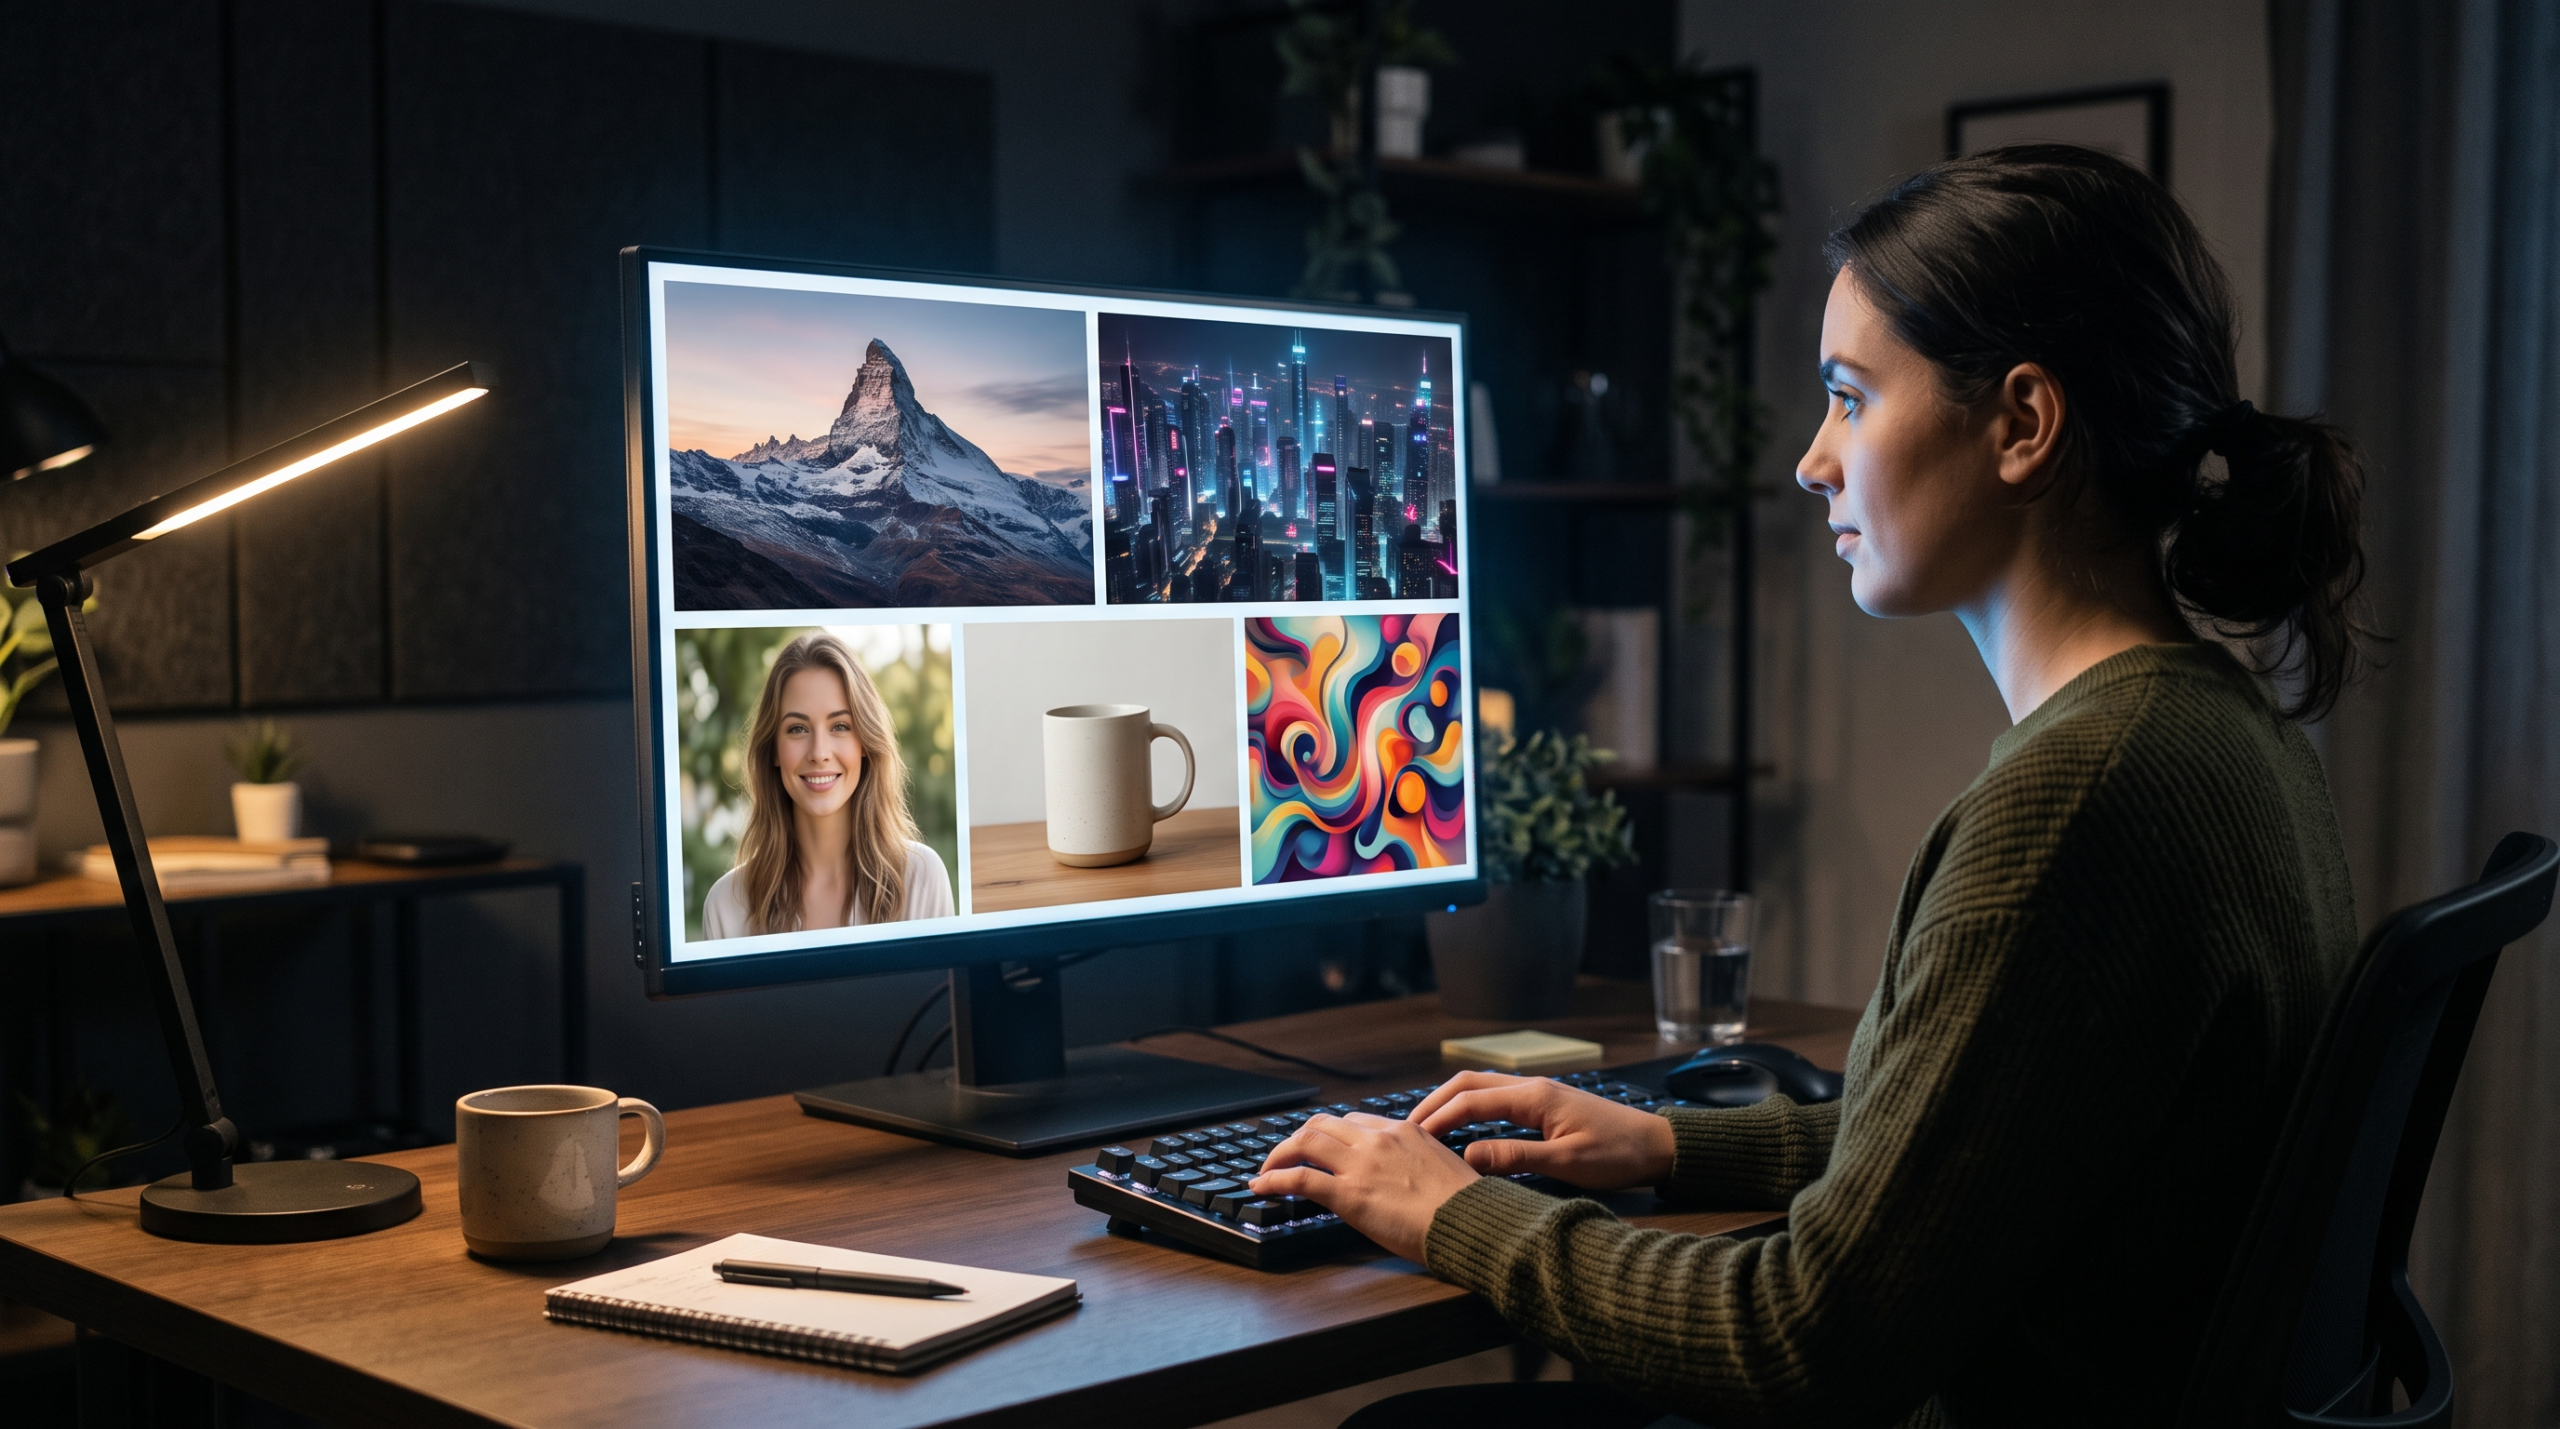
The good news is that learning how to use AI image generators comes down to a simple, repeatable workflow: pick a tool, describe what you want clearly, generate, check the result, and improve it. This guide walks you through each step, with example prompts you can copy, the mistakes most beginners make, and what to check before you publish an AI image anywhere.
How do you use an AI image generator?
Choose a tool, then type a description (a prompt) of the image you want, including the subject, setting, lighting and style. Generate the image, check it for errors, and refine your prompt or use editing tools to fix problems. Most good results come from a few rounds of small adjustments, not one perfect prompt.
What Is an AI Image Generator?
An AI image generator is a tool that creates new images from written descriptions. This is called text-to-image AI: you type “a red bicycle leaning against a brick wall at sunset,” and the tool produces an image that matches.
These tools are built on models trained on huge numbers of images and their descriptions. Through that training, they learn how words relate to visual features like objects, colors, lighting and artistic styles. When you write a prompt, the model builds a brand-new image based on those learned patterns. It isn’t searching for an existing photo.
Different tools produce different results from the same prompt, because each uses its own model and settings. One may be better at realistic photos, another at text inside images, another at illustration. That’s normal, and it’s why trying more than one tool can help.
What Do You Need to Create an AI Image?
Less than you might think:
- An AI image generator. Many work in a web browser, and some are built into chat assistants you may already use.
- An account, for most tools. Microsoft’s Bing Image Creator, for example, requires a free Microsoft account.
- An idea, even a rough one.
- A prompt, which is your written description.
- A reference image, optionally, if the tool lets you upload one to guide the result or edit.
You don’t need design software, drawing skills or a powerful computer. The image is generated on the provider’s servers.
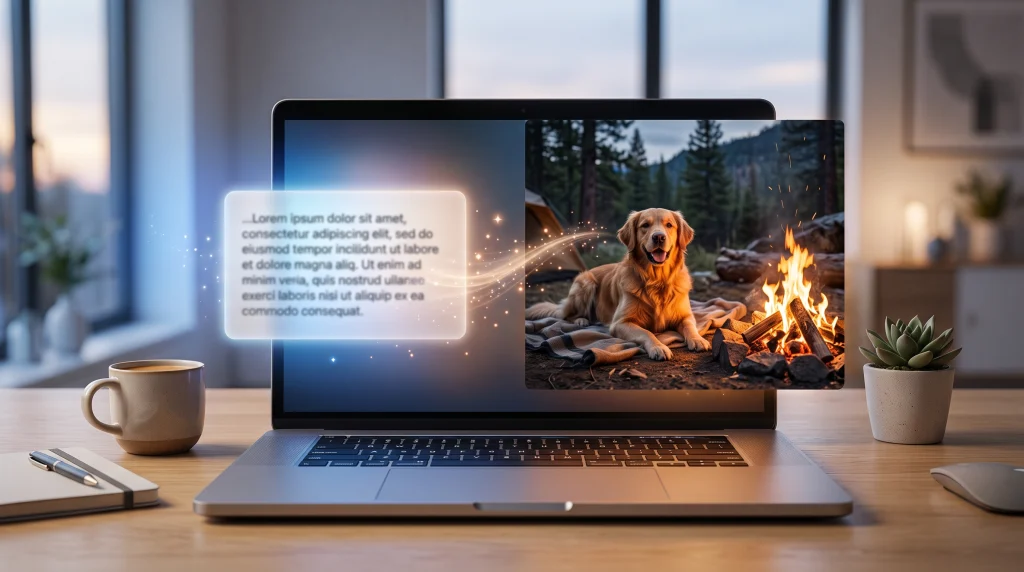
How to Use an AI Image Generator Step by Step
Step 1: Choose an AI image generator
For your first images, look for a tool that’s easy to use and has free access, so you can experiment without paying. Chat-based tools like Google Gemini and ChatGPT are especially approachable, because you describe what you want in plain language and ask for changes the same way.
When choosing, consider:
- Ease of use: a simple prompt box or chat beats lots of settings when you’re starting out.
- Free access: most tools limit free use through daily or weekly credits.
- Editing options: can you fix part of an image, or only regenerate it?
- Text in images: some tools handle words in images much better than others.
- Commercial-use terms: these matter if you’ll use images for a business.
For a side-by-side look at what each free plan includes, see our guide to the best free AI image generators.
Step 2: Open the image generation tool
Once you’re signed in, you’ll usually see a prompt box, often with a button labeled something like “Create” or “Generate.” In chat-based tools, you simply ask in the message box: “Create an image of…”
Layouts vary a lot between tools. Some show style presets, aspect ratio options or an image-upload button. Don’t worry about every setting yet. The prompt box is all you need to start.
Step 3: Start with a simple idea
Begin with one clear subject in one clear setting:
A golden retriever sitting beside a campfire in a mountain forest.
This gives the tool a subject (a golden retriever), an action (sitting), and a setting (a campfire in a mountain forest). Your first result will tell you a lot about how the tool interprets your words. You’ll add detail in the next steps.
Step 4: Write your first AI image prompt
A useful prompt usually describes some or all of these:
| Element | Example |
|---|---|
| Subject | a golden retriever |
| Action | sitting calmly, looking at the fire |
| Environment | a pine forest clearing in the mountains |
| Composition | wide shot, dog on the left, fire on the right |
| Lighting | warm firelight at dusk |
| Mood | cozy and peaceful |
| Style | realistic photograph |
| Important details | stars appearing in the sky |
Put it together:
Simple: A golden retriever sitting beside a campfire in a mountain forest.
Improved: A realistic photograph of a golden retriever sitting calmly beside a campfire in a pine forest clearing at dusk, warm firelight on its fur, stars appearing in the sky, wide shot, cozy and peaceful mood.
The improved prompt doesn’t use special code words. It just answers the questions the tool would otherwise have to guess.
If the tool supports an aspect ratio setting or understands it in the prompt, add it: 16:9 for blog headers, 1:1 for Instagram posts, 9:16 for Stories.
Step 5: Generate the image
Click generate or send your message. Depending on the tool and how busy it is, results take anywhere from a few seconds to a minute or so. Some tools produce several options at once; others give one image.
Don’t expect perfection on the first try. Think of the first result as a draft that shows how the tool understood your prompt.
Step 6: Evaluate the result
Look closely before you accept an image. Common problems include:
- Wrong or missing objects: something you asked for isn’t there.
- Strange anatomy: extra fingers, odd limbs, distorted faces.
- Unwanted details: random objects or blurry clutter in the background.
- Garbled text: misspelled or nonsense words in signs and labels.
- Composition issues: the subject is cut off or placed awkwardly.
- Lighting and color problems: too dark, washed out, or the wrong mood.
- Unrealistic proportions: objects at the wrong size relative to each other.
Zoom in on hands, faces, text and edges, which is where errors most often hide.
Step 7: Improve the prompt
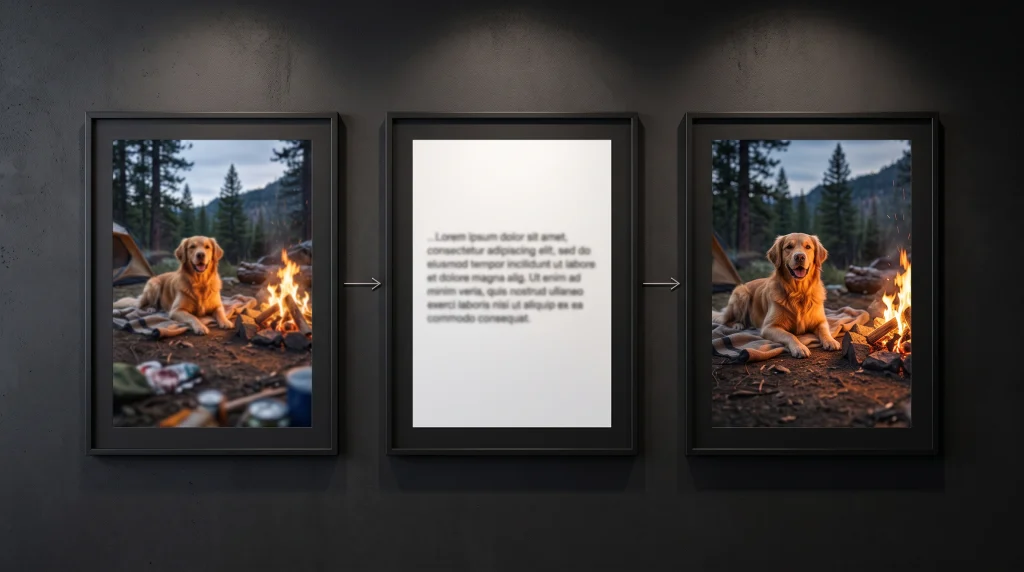
Instead of starting over, change the part of the prompt that caused the problem:
- Subject too small? Add “close-up” or “medium shot.”
- Background too busy? Add “simple, uncluttered background.”
- Too dark? Change “dusk” to “golden hour” or add “soft, bright lighting.”
- Wrong style? Swap “realistic photograph” for “watercolor illustration.”
- Wrong angle? Add “eye-level view” or “seen from above.”
In chat-based tools, you can often just say what to change: “Make the dog larger and move the fire to the right.”
Step 8: Generate variations
Variations let you compare options. Change one or two things at a time so you can see what made the difference:
- Same prompt, but “morning light” instead of “dusk”
- Same prompt, but “flat illustration” instead of “realistic photograph”
- Same prompt, but “close-up” instead of “wide shot”
Changing everything at once makes it hard to learn what works.
Step 9: Edit the image
Many tools now let you edit an image instead of regenerating it. Depending on the tool, you may be able to:
- Change part of an image by selecting an area and describing the change (often called inpainting)
- Remove objects you don’t want
- Replace or extend the background
- Expand the image beyond its original edges
- Upload your own photo and ask for changes. Microsoft’s Bing Image Creator and Google Gemini both support editing uploaded images.
Editing features differ a lot between tools, so check what yours offers.
Step 10: Download and organize the final image
Before you download:
- Check the resolution. It needs to be large enough for where you’ll use it. Blog featured images are commonly around 1200 pixels wide.
- Choose a format if the tool offers one. PNG keeps more quality; JPG files are smaller.
- Save your prompt in a notes file next to the image, so you can recreate or adjust it later.
- Keep useful variations. An alternative might suit a future post.
- Name files clearly, for example
golden-retriever-campfire-blog.jpgrather thanimage-final-2.png. Descriptive names are easier to manage and help with image SEO.
How to Write Better AI Image Prompts
A practical formula for beginners:
Subject + Setting + Action + Composition + Lighting + Style + Important details
Basic: A woman working on a laptop.
Improved: A young professional working on a laptop at a modern home office, warm natural window light, clean desk, realistic editorial photography, medium shot, subtle depth of field.
The improved version tells the tool where she is, what the light looks like, how close the camera is, and what style to use. That leaves far less to chance.
No formula works perfectly with every tool, because different models interpret prompts differently. Use it as a starting checklist, then adjust based on what you see. A dedicated guide on how to write better AI image prompts goes deeper into prompt techniques.
Beginner Prompt Examples
Photorealistic image
A quiet coastal village street at sunrise, whitewashed houses with blue doors, soft morning light, realistic photograph, eye-level view.
Product image
A minimalist ceramic coffee mug on a light oak table, soft studio lighting, clean white background, product photography, slight shadow.
Blog featured image
A cozy home office desk with a laptop, notebook and plant, warm afternoon light, realistic editorial style, wide shot with empty space on the left, 16:9.
Social media image
A colorful smoothie bowl topped with berries and granola, top-down view, bright natural light, vibrant food photography, 1:1.
Landscape
Rolling green hills with a winding country road, dramatic clouds at sunset, cinematic landscape photography, wide shot.
Character or portrait
A friendly elderly man with a gray beard reading a book in a library, warm lamp light, realistic portrait, shallow depth of field.
Business image
A small team having a relaxed meeting around a wooden table in a bright modern office, natural light, candid editorial photography.
Technology image
A sleek smartphone on a dark desk, its screen glowing softly with an abstract blue pattern, moody lighting, high-contrast tech photography.
Food image
A steaming bowl of ramen with soft-boiled egg and green onions, dark wooden table, warm side lighting, close-up food photography.
Educational illustration
A simple flat illustration of the water cycle with clouds, rain, a river and the sun, clean shapes, soft pastel colors, white background.
How Bloggers and Creators Can Use AI Images
AI images work well for:
- Featured images and article headers
- Concept illustrations for abstract ideas like “productivity” or “teamwork”
- Social media graphics and post backgrounds
- Thumbnails and banners
- Background images behind text you add yourself
When AI images are not appropriate:
- News photography: an AI image shouldn’t stand in for a photo of a real event.
- Documentary evidence: anything presented as proof that something happened.
- Medical or scientific evidence: diagrams or images presented as factual results.
- Real products, people or places shown as genuine. If authenticity matters, use real photos.
The key distinction: an illustration supports an idea; evidence shows what actually happened. If you use an AI image to illustrate a real story, a caption like “Illustration; not an actual photo” keeps readers informed.
Common Beginner Mistakes
- Vague prompts. “A nice picture of a city” leaves almost everything to chance.
- Too many ideas at once. A dragon, a beach, a robot and a birthday party in one image usually produces a muddle.
- Expecting the first result to be perfect. Plan on a few rounds.
- Changing everything between tries. You won’t know what helped.
- Ignoring composition. Say whether you want a close-up, wide shot or empty space for text.
- Not checking generated text. AI often misspells words in images. Add important text yourself in an editor like Canva.
- Trusting details blindly. Check hands, faces, logos and anything factual.
- Recreating copyrighted characters or brand logos. This can cause legal problems and often violates platform rules.
- Ignoring platform terms. Licensing rules differ between tools.
- Publishing without reviewing. Look at the full-size image before it goes live.
How to Improve Your Results
- Be specific about what matters most.
- Put the most important element first in your prompt.
- Describe the composition when framing matters.
- Describe the lighting, one of the biggest drivers of mood.
- Name a visual style, such as photo, watercolor, 3D render or flat illustration.
- Use reference images where the tool supports them.
- Make small, incremental changes.
- Regenerate when a result is far off, rather than editing endlessly.
- Compare a few variations before choosing.
- Inspect details at full size before publishing.
Better results usually come from iteration, not from one perfect prompt.
Free vs Paid AI Image Generators
| Typical difference | |
|---|---|
| Access | Free plans exist for many tools; paid plans add more use |
| Limits | Free use is capped by daily or weekly credits |
| Speed | Paid plans often get faster, priority generation |
| Quality and models | The newest models may be reserved for paid plans |
| Editing and controls | Advanced tools are often paid features |
| Privacy | Some free plans make your images public |
| Commercial use | Terms vary by tool and plan |
Free plans are enough for most beginners. Limits change often, so check each provider’s current plan page before relying on one.
Commercial Use and Copyright
Before using AI images for a business, keep these points in mind:
- Rights depend on the platform. Each tool sets its own terms. Ideogram and Leonardo.Ai, for example, say on their pricing pages that free users can use generated images commercially, but terms differ elsewhere.
- Terms can change, so check the current version before relying on it.
- Free doesn’t automatically mean unrestricted. A free plan may have different rules from a paid one.
- Copyright protection may be limited. In the U.S., the Copyright Office’s 2025 report said images generated from prompts alone generally aren’t protected by copyright, while meaningful human creative contributions can be.
- Avoid trademarks and recognizable characters. Using brand logos, famous characters or real people’s likenesses can raise separate legal issues.
This is general information, not legal advice. For important commercial projects, read the platform’s terms carefully or consult a qualified professional.
Start Simple and Improve From There
You don’t need to master complicated prompting to get good results. Start with a clear idea, describe the important visual details, generate an image, check it carefully, and improve your prompt one change at a time. After a few rounds, how to use AI image generators stops being a mystery and becomes a quick, practical part of how you create.
7. FAQ
What is an AI image generator?
A tool that creates new images from written descriptions, called prompts. It uses a model trained on large numbers of images to build an image that matches your words.
How do I create an AI image for free?
Sign up for a tool with a free plan, such as Bing Image Creator or Google Gemini, type a clear description of what you want, and generate. Free plans have usage limits.
What should I write in an AI image prompt?
Describe the subject, setting, action, composition, lighting and style. For example: “a red bicycle leaning against a brick wall, golden hour light, realistic photograph, eye-level view.”
Can I use AI-generated images on my blog?
Generally yes, as illustrations, if the tool’s terms allow it. Don’t present them as real photos of real events, and check images for errors before publishing.
Why does my AI-generated image look wrong?
The prompt may be too vague, the tool may have misread part of it, or the model may have struggled with details like hands or text. Make your prompt more specific and change one thing at a time.
How can I make AI images more realistic?
Ask for a “realistic photograph,” describe natural lighting, specify a camera view like “eye-level” or “close-up,” and avoid fantasy elements that conflict with realism.
Can AI image generators create text inside images?
Some can, but results vary and misspellings are common. For important text, add it yourself afterward in a design tool.
Can I edit an AI-generated image?
Often, yes. Many tools let you change parts of an image, remove objects, replace backgrounds or edit an uploaded photo. Features vary by tool.
8. Sources
- Microsoft: Bing Image Creator help, on the Microsoft account requirement, free creations and uploaded-image editing
- Google: Gemini Apps limits and plans, on image generation for users without a paid plan
- Ideogram: Pricing, on commercial use and public-by-default images
- Leonardo.Ai: Pricing, on the commercial license for free users and public images
- Adobe: Firefly plans, on free daily generations
- Copyright Alliance: Summary of the USCO AI Report, Part 2, on copyright for AI-generated outputs
Tool details were checked against these official pages on October 4, 2026.